
In our last post on Extending ContentBox 3 with your own Custom Modules we learned that you could build a custom ColdBox Modile with amazingly, just 2 files. You could paste in your legacy spaghetti code right into your default view, and it would work. Of course, we probably want to dress it up a little more, and add some more functionality, so lets look at the layout first.
Or custom module we were created just had a simple line of code.
<h1>My Custom Module</h1>
If we view the source, you'll see there is more than just the h1 tag we added.
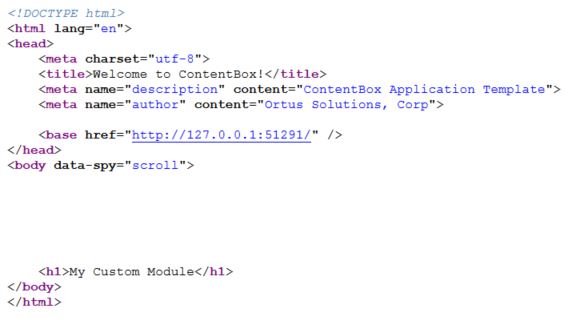
Where is all of that coming from? Layouts
This is another convention. In ColdBox, the default layout for a view is "main", so ColdBox is looking for a main layout for the view. It looks in the module first, in the layouts folder ( which doesn't exist yet ) and there is no /modules_app/customModule/layouts/main.cfm so then it looks in the parent... the main app. Inside of the ContentBox App root, there is a layouts folder, and inside of there, is a Main.cfm. That is found by ColdBox and that is what generates the small amount of layout code wrapping our H1.
<cfoutput>
#html.doctype()#
<html lang ="en" >
<head>
        <meta charset= "utf-8">
        <title>Welcome to ContentBox!</title>
        <meta name= "description" content ="ContentBox Application Template" >
    <meta name="author" content= "Ortus Solutions, Corp">
       <!---Base URL --->
        <base href= "#getSetting( "HTMLBaseURL" )#" />
</head>
<body data -spy ="scroll" >
       #renderView()#
</body>
</html>
</cfoutput>
Creating our own Module layout file
Now, what if we want to use a different layout that the Apps layout? We can use conventions, and create the module layouts folder, and add a main.cfm. Lets do that.
Main.cfm - https://gist.github.com/gpickin/5026d1ce091ec7f708534ab56d3c1f78
<cfoutput>
#html.doctype()#
<html lang ="en" >
<head>
<meta charset= "utf-8">
<title>Custom Module Layout</title>
<meta name= "description" content ="ContentBox Application Template" >
<meta name="author" content= "Ortus Solutions, Corp">
<!---Base URL --->
<base href= "#getSetting( "HTMLBaseURL" )#" />
</head>
<body data -spy ="scroll" >
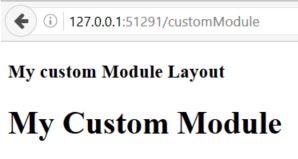
<h3>My custom Module Layout</h3>
#renderView()#
</body>
</html>
</cfoutput>Refresh the page, and you'll see our H3 from the layout showing through.
Overriding the convention for default layout
What if I do not want my layout called main.cfm, or maybe i want to switch my layouts for different seasons... we'll make a new layout called main2.cfm.
First, lets update the moduleConfig default layout, this is where you can override the default layout for the module.
Update the layout settings in the ModuleConfig.cfc from
// Layout Settings
layoutSettings = {
    defaultLayout = ""
};
to
// Layout Settings
layoutSettings = {
    defaultLayout = "main2"
};
Refresh the page, and see what happens. Nothing!
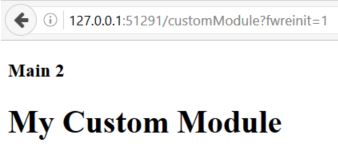
All module settings are only read on initialization... so you need to re-init your app
http://127.0.0.1:51291/customModule?fwreinit=1
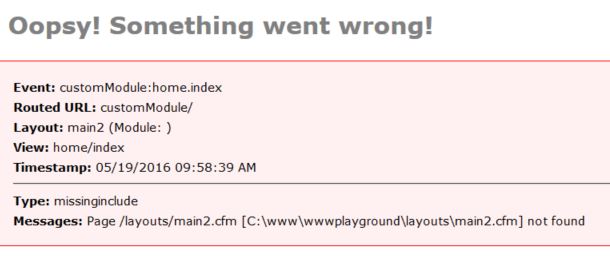
Now, we get this error, because we changed the default layout, but we haven't created the file yet.
Lets create main2.cfm and then copy paste main.cfm and then just add something different, so you can see it has changed.
Great, so now I can build my own layouts for my module. This module is being built for my ContentBox Website, so I want the module to match the rest of the website, how do I do that? We'll save that for our next blog post on ContentBox modules.
Hope this helped demystify ColdBox modules and some of the conventions.


Add Your Comment