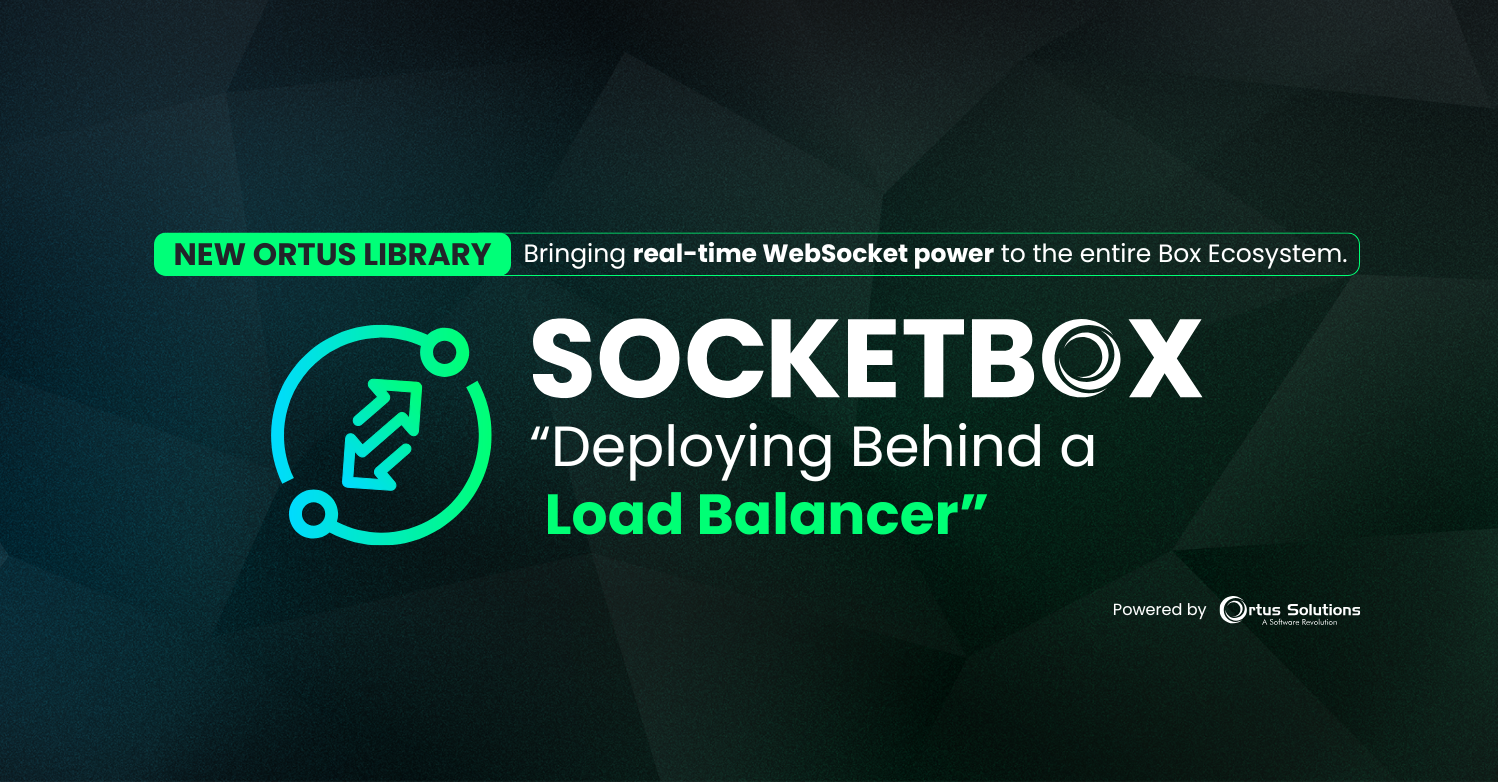
Deploying SocketBox Behind A LoadBalancer
Welcome back to our series on SocketBox - a websocket module for CommandBox + BoxLang. this is part 2 of a 4 part series about the SocketBox library. You can check out the first blog post here. We also have a tutorial repo to go along with each installment of the series.
The Problem With Clustering
As we saw in our earlier blog post, getting a websocket site up and running with BoxLang + SocketBox was easy. As is often the case, the real world is a little harsher than the safe world of localhost. In production(TM) you will almost always be running behind some sort of load balancer. Horizontal scaling for the win! Unfortunately, this will throw a huge wrench our our websocket plans (or will it?)! Consider this scenario for a moment -
- Multiple nodes in a cluster (without sticky sessions)
- Multple users accessing the system
- User A has a websocket connection on Server 1
- An event happens on Server 2 that has relevant information to User A
- Scheduled task
- Database trigger
- User event (User B saves a record)
- etc...
How does Server 2 communicate the relevant data to User A?
The solution is to make your servers aware of each other using WebSockets! If solving websocket problems with more websockets is wrong then I'm not sure I want to be right.
SocketBox's Approach
WebSockets are performant and effective ways to communicate from the client to the server and back. Why not leverage those same great strengths for server to server communication? With very little configuration you can connect all your SocketBox enabled servers together and they will automatically organize themselves using a websocket layer to communicate. Pretty neat!
As a developer, there are three pieces of information you will need to provide to SocketBox so that it can connect the different nodes together.
- A shared secret key so each node can verify their identity
- A URL that can uniquely identify each node in the cluster (must be accessible by every node as well)
- Provide a cache conforms to a certain interface
All of this is much easier than it sounds.
In SocketBox all configuration is done in your socket listener. The listener is usually named WebSocket.bx and is configured in your server.json.
{
    "name":"socketbox-intro",
    "app":{
        "cfengine":"boxlang@be"
    },
    "jvm":{
        "javaVersion":"openjdk21"
    },
    "rewrites":{
        "enable":true
    },
    "web":{
        "websocket":{
            "enable":true,
            "listener":"WebSocket.bx"
        }
    }
}
Now let's take a look at setting up the configuration for the WebSocket.bx listener. This is our WebSocket.bx from the last tutorial but now includes the configuraiton method we will be using.
class extends="modules.socketbox.models.WebSocketCore" {

    // our configuration function
    public struct function configure(){
        return {
            "debugMode": false,
            "cluster" : {
                // Enable cluster mode.
                "enable" : true,

                // This can be any string-- a GUID is fine.  Just generate it once and ensure all servers in the cluster use the same secret key.
                "secretKey" : "",

                // address for other servers to connect to this node
                "name" : "ws://#createObject("java", "java.net.InetAddress").getLocalHost().getHostName()#:#cgi.server_port#/ws",

                // A class or object with MINIMUM get(), set(), and clear() methods to use as a cache provider.
                // A CacheBox provider is perfect for this and offers disk, JDBC, CF/Lucee, Couchbase, Redis, or Memcached backends.
                // You can also provide your own custom cache provider as long as it has get(), set(), and clear() methods.
                // Note, get() must return null if the key is not found.
                // ALL nodes in the cluster MUST share the same external data store.  This cache will be used for registration and discovery of the other nodes in the cluster
                "cacheProvider" : "",

                // Use this if more than one SocketBox cluster is sharing the same backend cache provider.  This prefix will be added to add cache keys
                "cachePrefix" : ""
            }
        }
    }

    public function onConnect( required channel ){
        broadcastMessage( "A new channel connected" )
    }

    public function onClose( required channel ){
        broadcastMessage( "A channel dropped" )
    }

    public function onMessage( required message, required channel ){
        if( message == "ready" ){
            sendMessage( "Hello, WebSocket!", channel )
        }
    }
}
The Secret Key
Literally anything. The only real requirements is that it needs to be long enough and secret enough. A GUID works well here. You need to ensure that it is the same for all nodes. In our example the secret is retrieved through an environment variable.
class extends="modules.socketbox.models.WebSocketCore" {

    // our configuration function
    public struct function configure(){
        return {
            "debugMode": false,
            "cluster" : {
                // use our BIF to get the ENV variable
                "secretKey": getSystemSetting( "WEBSOCKET_SECRETKEY" )
            }
            // other configuration
        }
    }

    // other functions

}
Network Reachable Address
This needs to be an address accessible by other nodes in the network. Hostnames, IPs, domain names, etc... are all supported. This requirment is easier to fulfill in some deployments than in others. For instance, if you are running servers in an environment with static IPs you will know the value each server should report ahead of time and can simply put the value in an ENV variable and call it a day. That could look something like this:
class extends="modules.socketbox.models.WebSocketCore" {

    // our configuration function
    public struct function configure(){
        return {
            "debugMode": false,
            "cluster" : {
                // use our BIF to get the ENV variable
                "secretKey": getSystemSetting( "WEBSOCKET_SECRETKEY" ),

                // use our BIF to get the address from an ENV variable
                "name": getSystemSetting( "WEBSOCKET_SERVER_ADDRESS" )
            }
            // other configuration
        }
    }

    // other functions

}
 }
What if you a more dynamic setup like AWS Fargate or Kubernetes? We've got you covered! You can dynamically provide the value at runtime. Here is an example that works in AWS Fargate.
class extends="modules.socketbox.models.WebSocketCore" {

    // our configuration function
    public struct function configure(){
        return {
            "debugMode": false,
            "cluster" : {
                // use our BIF to get the ENV variable
                "secretKey": getSystemSetting( "WEBSOCKET_SECRETKEY" ),

                // use our BUF to get the address from an ENV variable
                "name": getAddress()
            }
            // other configuration
        }
    }

    private any function getAddress(){
        // ENV override for dev
        if( getSystemSetting( "WEBSOCKET_ADDRESS", "" ) != "" ){
            return getSystemSetting( "WEBSOCKET_ADDRESS", "" );
        }

        if( !structKeyExists( server, "wsAddress" ) ){
            // the variable ECS_CONTAINER_METADATA_URI_V4 is set my AWS automatically
            // you can read their official docs here <https://docs.aws.amazon.com/AmazonECS/latest/developerguide/task-metadata-endpoint-v4.html>
            bx:lock name="getWSAddress" timeout="60"{
                bx:http url="#getSystemSetting( "ECS_CONTAINER_METADATA_URI_V4" )#/task" result="result" {

                }
            }

            println( "Retrieved data from: #getSystemSetting( "ECS_CONTAINER_METADATA_URI_V4" )#/task with status code #result.statusCode#" )

            data = JSONDeserialize( result.fileContent );

            ip = data.Containers[ 1 ].Networks[ 1 ].IPv4Addresses[ 1 ] ?: "";
            println( "Retrieved WebSocket IP: #ip#" )

            server.wsAddress = "ws://#ip#:#getSystemSetting( "PORT", 8080 )#/ws";
            println( "Setting server wsAddress to be: #server.wsAddress#" )
        }

        return server.wsAddress;
    }

}
The Cache
Now for the last bit of configuration, the cache. Once the cache has been implemented we can spin up our servers and they should be able to talk with one another. Let's take another look at our configuration.
We can add a very simple file based cache that will meet the needs of our demo. At the end of this article we have a few more real-world examples for you to try out.
class extends="modules.socketbox.models.WebSocketCore"

{

    // our configuration function
    public struct function configure(){
        return {
            "debugMode": false,
            "cluster" : {
                // .. existing cluster configuration
                // our cache configuration
                "cacheProvider" : {
									get : (key)=> {
										var dataDir = expandPath( "/cacheData" );
										var filePath = dataDir & "/" & key.reReplaceNoCase( "[^a-zA-Z0-9]" , "_", "all" ) & ".txt";
										if( fileExists( filePath ) ) {
											return fileRead( filePath );
										}
										return;
									},
									set : (key, value)=> {
										var dataDir = expandPath( "/cacheData" );
										if( not directoryExists( dataDir ) ) {
											directoryCreate( dataDir );
										}
										var filePath = dataDir & "/" & key.reReplaceNoCase( "[^a-zA-Z0-9]" , "_", "all" ) & ".txt";
										fileWrite( filePath, value );
									},
									clear : (key)=> {
										var dataDir = expandPath( "/cacheData" );
										var filePath = dataDir & "/" & key.reReplaceNoCase( "[^a-zA-Z0-9]" , "_", "all" ) & ".txt";
										if( fileExists( filePath ) ) {
											fileDelete( filePath );
										}
									}
								},
            }
            // other configuration
        }
    }
}
Try It Out!
Now that we have everything configured we can run our cluster and everything should be able to talk together. I've taken the liberty of preparing a test app for you in case you want to give it a shot! Check out the tutorial repo and follow the readme to get started.
Once you have pulled down the repo you will need to run the following commands to set everything up.
box install

# start the first server in our cluster - http://localhost:12080
box server start serverConfigFile=server.json

# start the second server in our cluster - http://localhost:12081
box server start serverConfigFile=server2.json
A Few Recipes
In our example we covered how to use the file system as a cache for SocketBox. This is neat but almost never what you would want to do in production. Here are a few more examples of different caches that could be used in place.
A CacheBox cache.
class extends="modules.socketbox.models.WebSocketCore" {

    // our configuration function
    public struct function configure(){
        return {
            "debugMode": false,
            "cluster" : {
                // use our BIF to get the ENV variable
                "secretKey": getSystemSetting( "WEBSOCKET_SECRETKEY" ),
                "cacheProvider": application.wirebox.getInstance( "cachebox:yourWSCache" )
            }
            // other configuration
        }
    }

    // other functions

 }
A custom DB Cache.
class extends="modules.socketbox.models.WebSocketCore" {

    // our configuration function
    public struct function configure(){
        return {
            "debugMode": false,
            "cluster" : {
                // use our BIF to get the ENV variable
                "secretKey": getSystemSetting( "WEBSOCKET_SECRETKEY" ),
                "cacheProvider": {
                    // make sure get returns null!
                    get: function( key ){
                        var result = queryExeucte(
                            "SELECT val FROM wsCache WHERE key = :key"
                            { key: key }
                        );

                        if( result.val == "" ){
                            return null;
                        }

                        return result.val;
                    },
                    set: function( key, value ){
                        // mysql upsert
                        queryExecute(
                            "
                                INSERT INTO wsCache ( key, val )
                                VALUES( :key, :value )
                                ON DUPLICATE KEY UPDATE
                                val = VALUES( :val )
                            ",
                            { key: key, val: value }
                        );
                    },
                    clear: function(){
                        queryExecute( "DELETE FROM wsCache" );
                    }
                }
            }
            // other configuration
        }
    }

    // other functions
Conclusion
I hope you have enjoyed our deep dive ito clustering with SocketBox. It really is a game changer how easy and flexible it is! This has been part 2 of our multi-part series on SocketBox. If you are just joining us check out the first post in the series. Next up we will be talking about every developers favorite topic, security! We will cover authentication/authorization schemes, the STOMP protocol and how to make sure you route messages to only the users that should see them.
--
Join the BoxLang Community ⚡️
Be part of the movement shaping the future of web development. Stay connected and receive the latest updates on Into the Box 2025, product launches, tool updates, and more.
Subscribe to our newsletter for exclusive content.
Follow Us on Social media and don’t miss any news and updates:
- https://x.com/ortussolutions
- https://www.facebook.com/OrtusSolutions
- https://www.linkedin.com/company/ortus-solutions-corp
- https://www.youtube.com/OrtusSolutions
- https://github.com/Ortus-Solutions
Join the BoxLang and CFML legends at Into the Box 2025. Let’s learn, share, and code together for a modern, cutting-edge web development future.
Add Your Comment